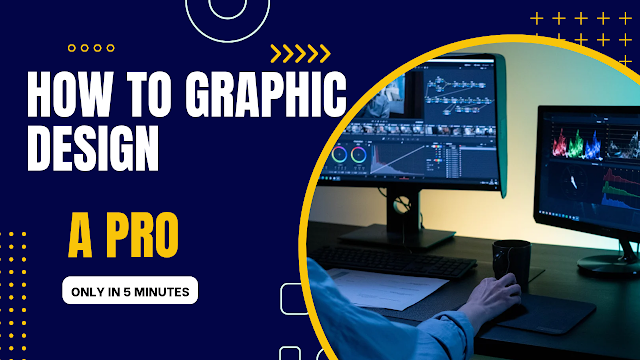
Creating a graphic design package involves bundling various design elements to meet a client’s branding or marketing needs. Here’s a step-by-step guide:
Step 1: Define the Package Type
Decide what kind of package you are offering. Common graphic design packages include:
- Branding Package (logo, business card, letterhead, social media kit)
- Marketing Package (flyers, posters, brochures, banners)
- Social Media Package (profile pictures, cover images, post templates, ads)
- UI/UX Design Package (website or app UI, wireframes, icons)
Step 2: List the Deliverables
Clearly define what’s included. Example for a branding package:
- Logo (Primary, Secondary, Icon)
- Brand color palette
- Typography selection
- Business card design
- Letterhead & envelope
- Social media templates
Step 3: Set the Price
Price your package based on:
- The complexity of the designs
- The time required
- Your experience and market rates
Step 4: Use Professional Tools
- Adobe Photoshop, Illustrator, or InDesign (for designing)
- Figma or Canva (for UI, social media, and branding materials)
Step 5: Create a Template for Reuse
Having a reusable template speeds up future work. Consider using:
- Mood boards
- Design brief templates
- Pre-designed layout structures
Step 6: Prepare Files for Delivery
Ensure the client gets:
- Editable files (AI, PSD, or Figma files)
- Exported files (PNG, JPEG, PDF, SVG)
- Brand guidelines document (for branding projects)
Step 7: Present the Package Professionally
- Use mockups to showcase the designs
- Create a portfolio with past works
- Provide a document explaining the usage of each design element
Would you like a customizable template or a pricing suggestion based on your target market?


0 Comments